aescripts + aeplugins社 エクステンション製品 インストール方法
この度は株式会社フラッシュバックジャパン取扱「aescripts + aeplugins社製品」をご利用頂き誠にありがとうございます。
aescripts + aeplugins社の製品インストーラーは、デモ版と正規版を兼ねています。製品インストーラーにつきましては、各製品ページよりダウンロードのうえインストールいただけますようお願いします。
エクステンション製品 インストール方法:Step 1
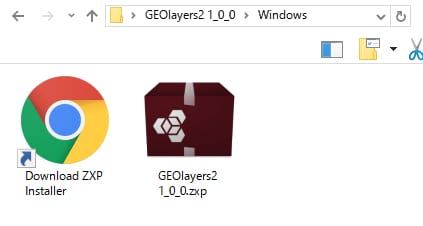
製品ページよりデモ&正規版のインストーラーをダウンロードし、.zxp / .ccxファイルを準備します。
※Photoshopプラグインの場合は拡張子が.ccxのファイルを準備してください。
エクステンション製品 インストール方法:Step 2
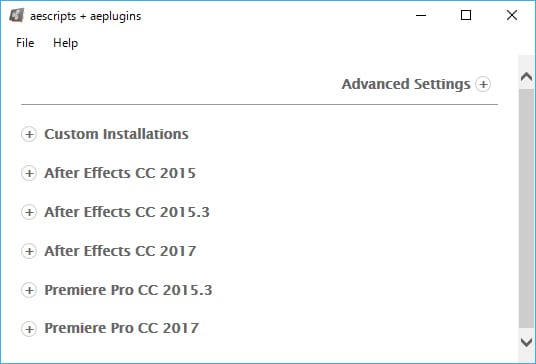
下記リンクにより、「ZXP Installer」をダウンロードして起動します。
エクステンション製品 インストール方法:Step 3
Windows の場合、.zxpをダブルクリックします。
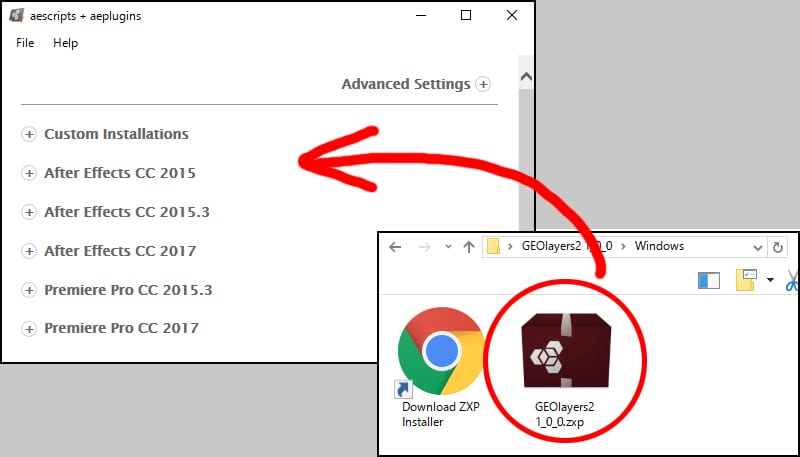
Mac の場合は【Step2】で開いたパネル上に.zxpファイルをドラッグ&ドロップします。
「The Extension was successfully installed!」と表示されインストールが完了します。
エクステンション製品 インストール方法:Step 4
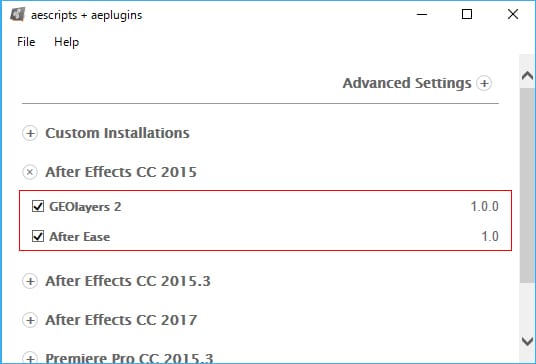
インストール済のエクステンションは、「ZXP Installer」で確認することができます。
エクステンション製品 アンインストール方法:Step 1
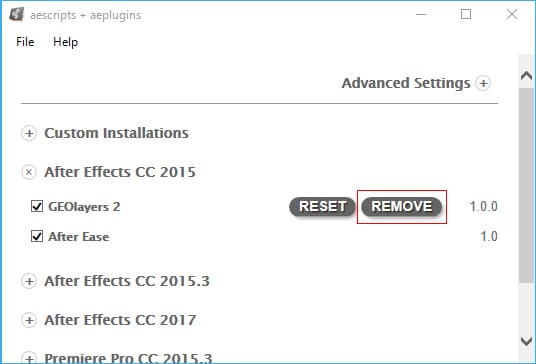
「ZXP Installer」を起動し、アンインストールするエクステンションの横に表示される【REMOVE】をクリックします。
エクステンション製品 アンインストール方法:Step 2
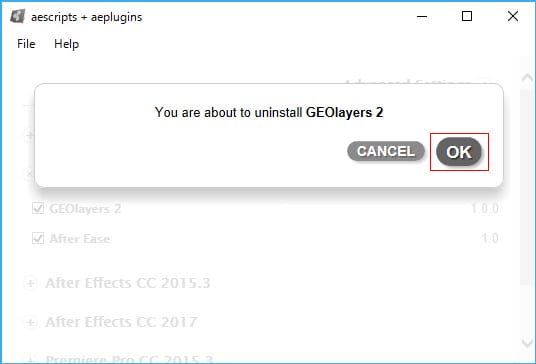
確認画面が表示されますので、【OK】をクリックします。
エクステンション製品 アンインストール方法:Step 3
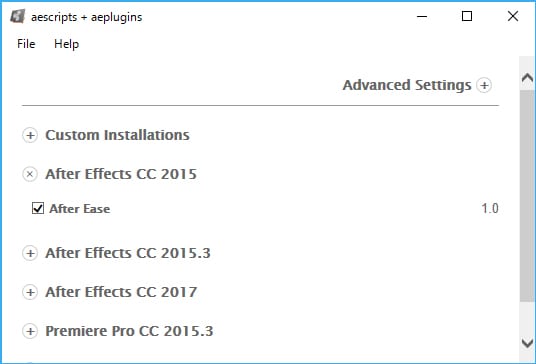
アンインストールが完了しました。
Labels PProご利用時の設定
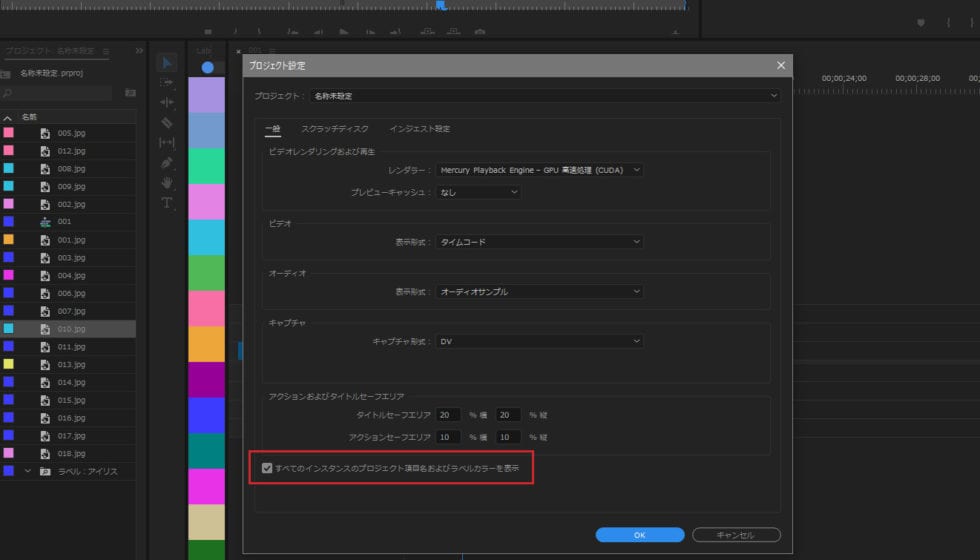
Labels PProの利用にあたり、プロジェクト設定を変更する必要があります。
Premier Proのプロジェクト設定 > 一般設定をクリックしてプロジェクト設定ウィンドウを開きます。『すべてのインスタンスのプロジェクト項目名およびラベルカラーを表示』にチェックを入れてOKをクリックしてください。
Datamosh 2 External Toolsダウンロード方法:Step 1
Datamosh 2 を利用する場合、External Toolsをダウンロードする必要があります。下記の手順にてセットアップをすすめてください。
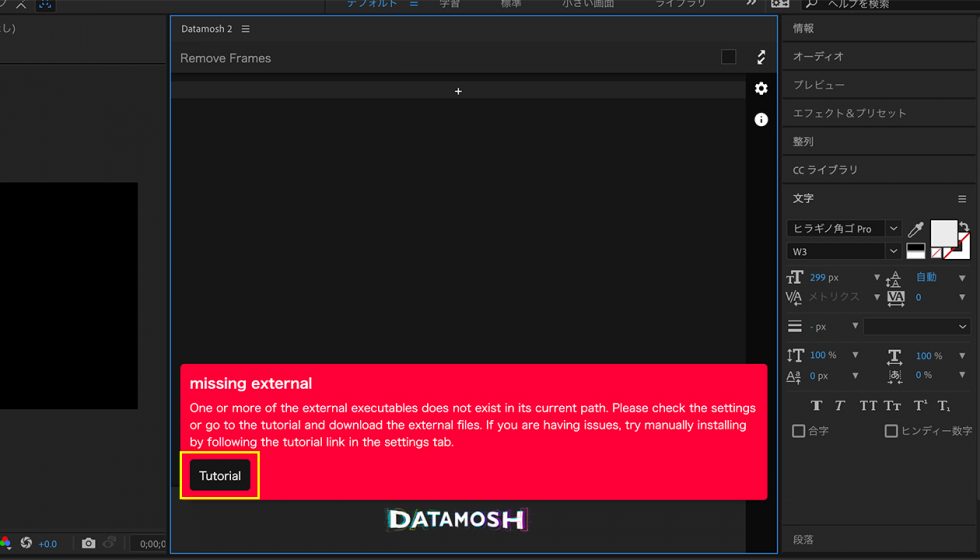
After Effectsを起動してウィンドウ > エクステンション > Datamosh 2パネルを起動します。
Missing Externalと表示されるのでTutorialボタンをクリックします。
Datamosh 2 External Toolsダウンロード方法:Step 2
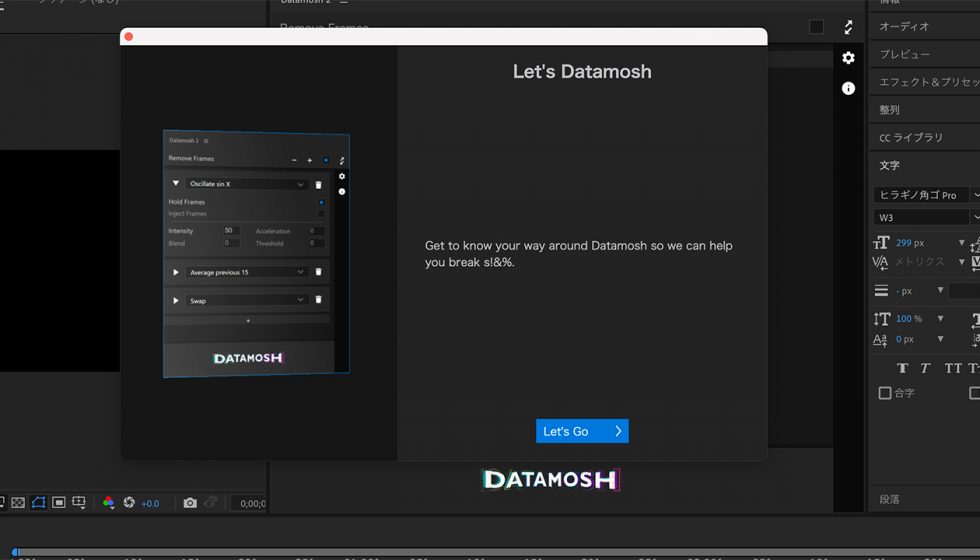
Let’s Datamoshと表示されます、Let’s Goボタンをクリックします。
Datamosh 2 External Toolsダウンロード方法:Step 3
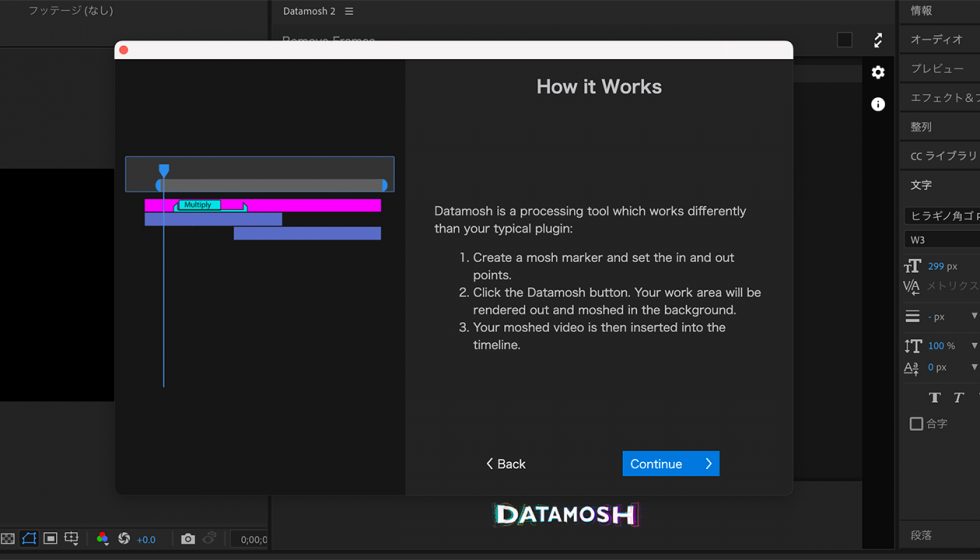
How it Worksと表示されます、Continueボタンをクリックします。
Datamosh 2 External Toolsダウンロード方法:Step 4
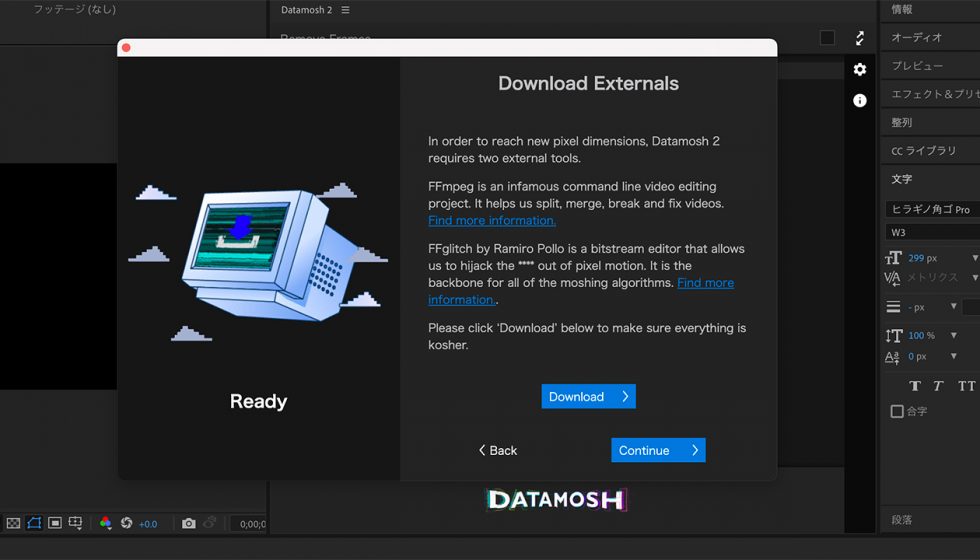
Download Externalsと表示されます、Downloadボタンをクリックするとダウンロードが開始します。
※バックグラウンドでダウンロードが開始しますので、左側の画面の文字がSuccess!になるまでこの画面でお待ちください。
Datamosh 2 External Toolsダウンロード方法:Step 5
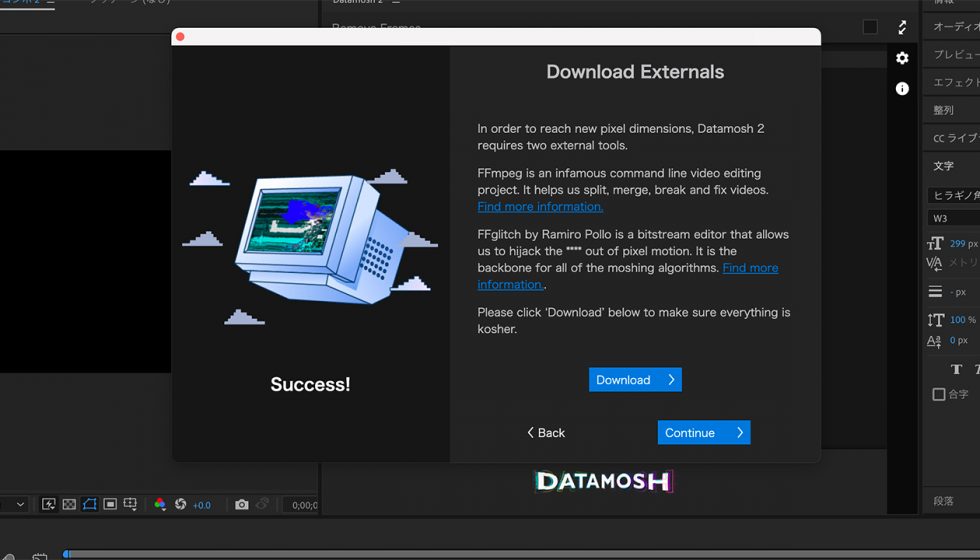
Success!と表示されたらExternal Toolsのダウンロードは完了です、Continueボタンをクリックします。
Datamosh 2 External Toolsダウンロード方法:Step 6
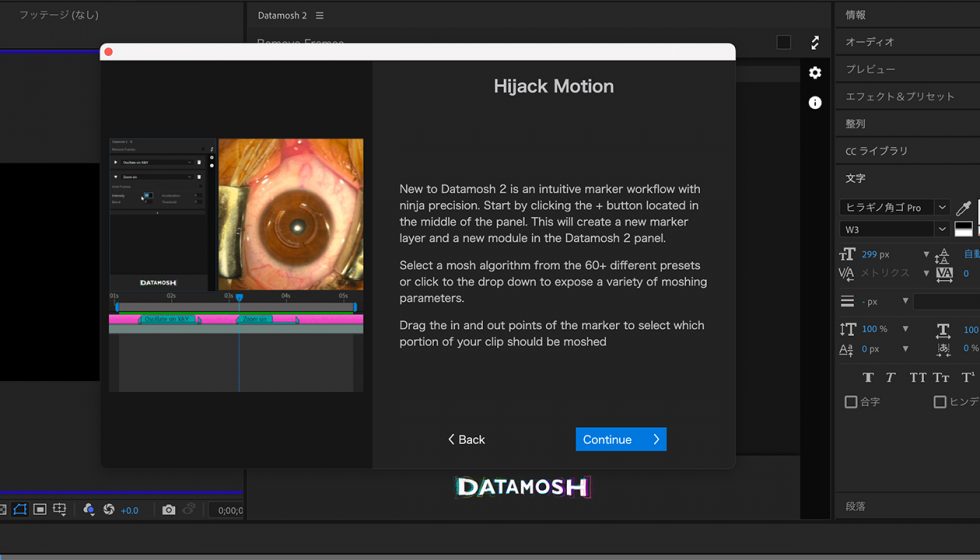
Hijack Motionと表示されます、Continueボタンをクリックします。
Datamosh 2 External Toolsダウンロード方法:Step 7
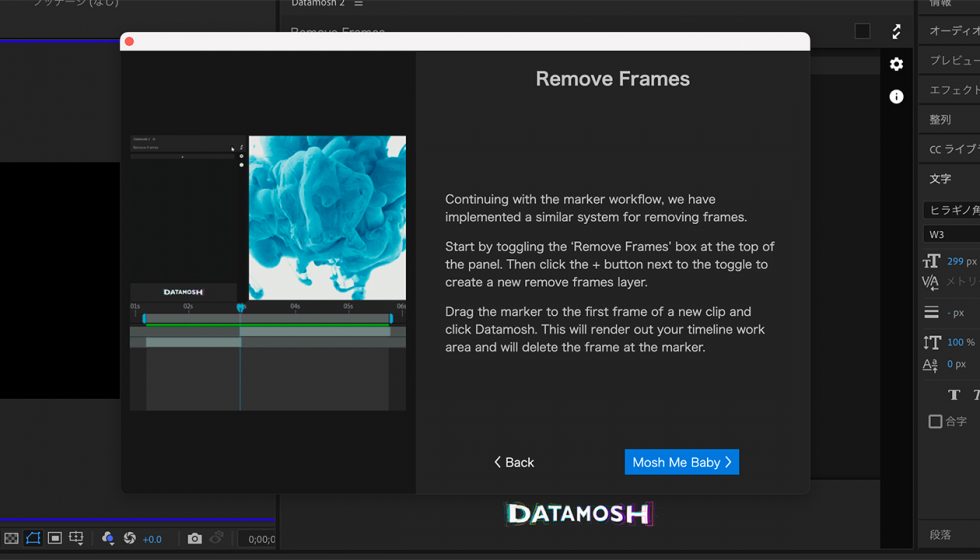
Remove Framesと表示されます、Mosh Me Babyボタンをクリックします。
Datamosh 2 External Toolsダウンロード方法:Step 8
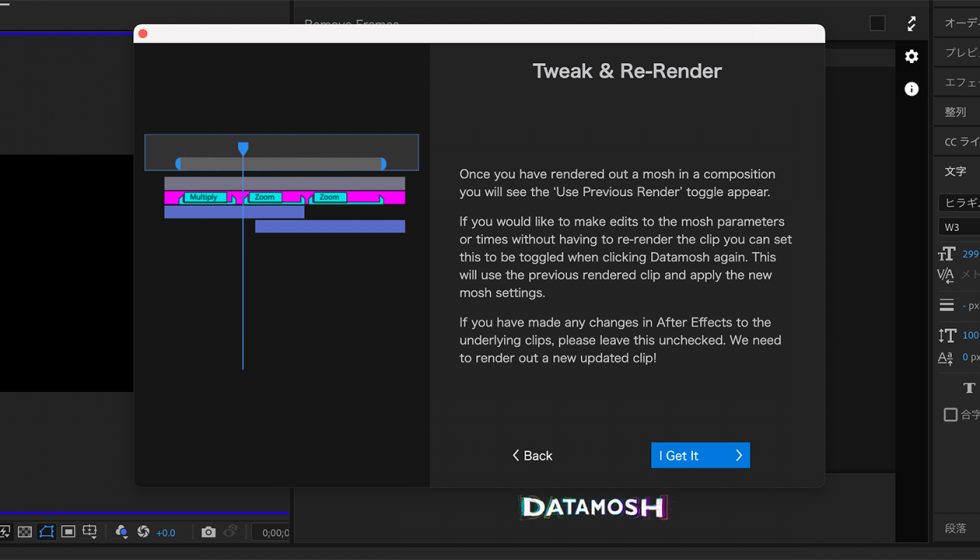
Tweak & Re-Renderと表示されます、I Got Itボタンをクリックします。
Datamosh 2 External Toolsダウンロード方法:Step 9
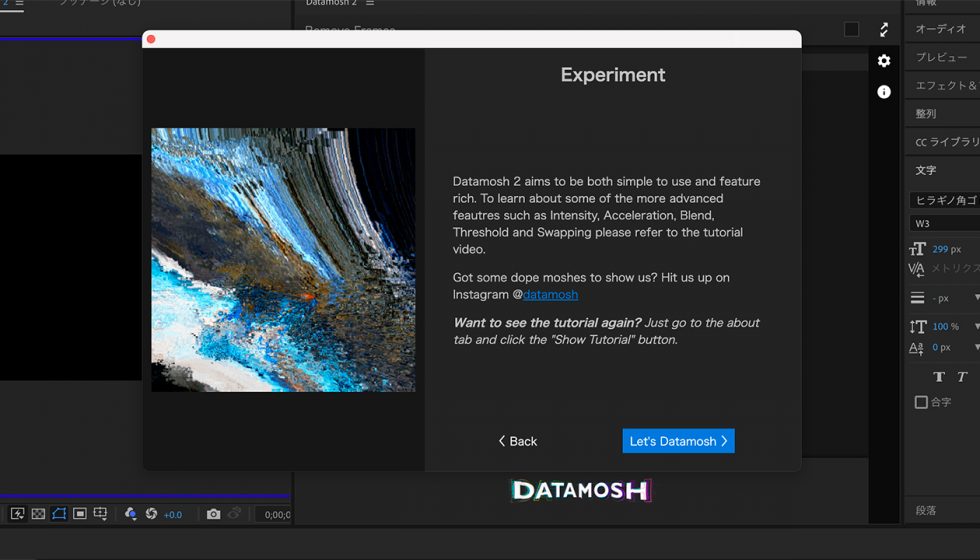
Exzperimentと表示だれます、Let’s DatamoshボタンをクリックしてDatamosh 2の利用を開始します