12s氏による Greyscalegorilla Plus の魅力と活用術【Transform】
【12s氏による Greyscalegorilla Plus の魅力と活用術】シリーズの第六弾では、適用するだけでオブジェクトに簡単にインアクション、アウトアクションをつけることができるツール、Transform の説明とその活用法についてお話します。
【Transform】
Transform は適用するだけでオブジェクトに簡単にインアクション、アウトアクションをつけることが出来るツールです。
シームレスなアニメーションをキーフレーム無しでつけることができ、アクションのプリセットも60種類以上含まれています。
Cinema 4D の PolyFX やエフェクターを使ってつけるような動きを簡単にオブジェクトに与えることができます。
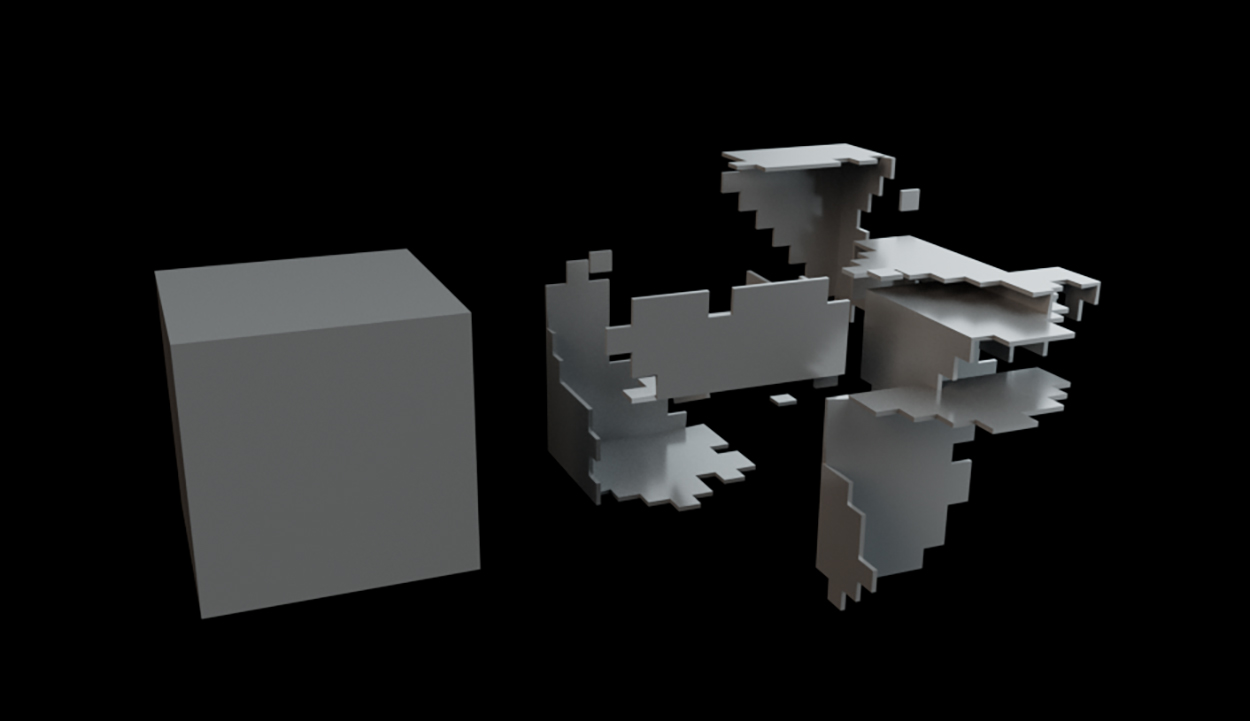
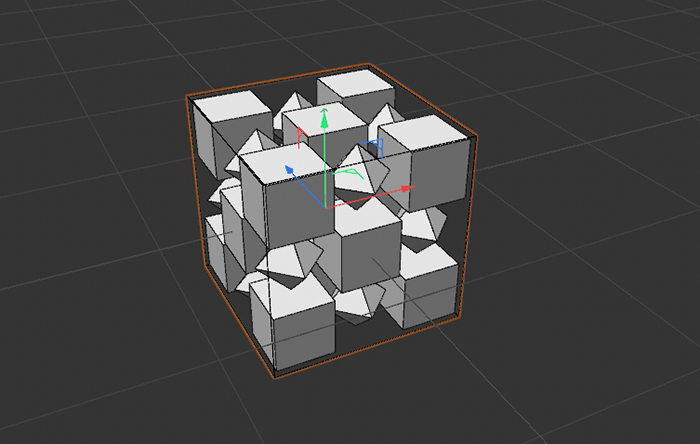
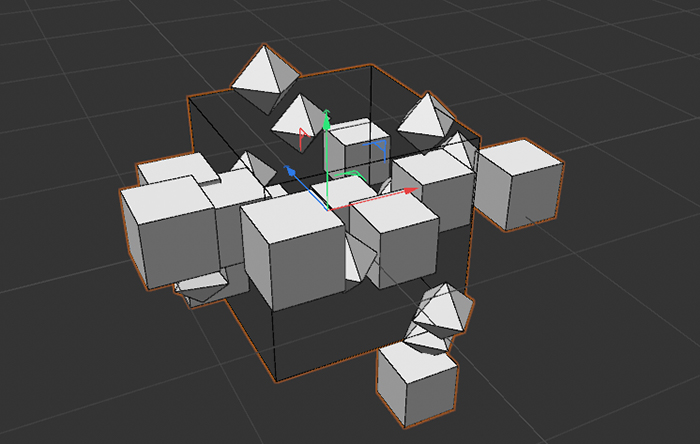
プリミティブの立方体にアウトアクションをつけた例。ポリゴンに沿って分解、消失するアクションがついています。ポリゴン、テキスト、クローナーごとに分解するなど様々な条件でアニメーションさせることができます。
【Transform の使い方】
Transform の適用はとても簡単です。まずは基本的な使い方をご紹介します。
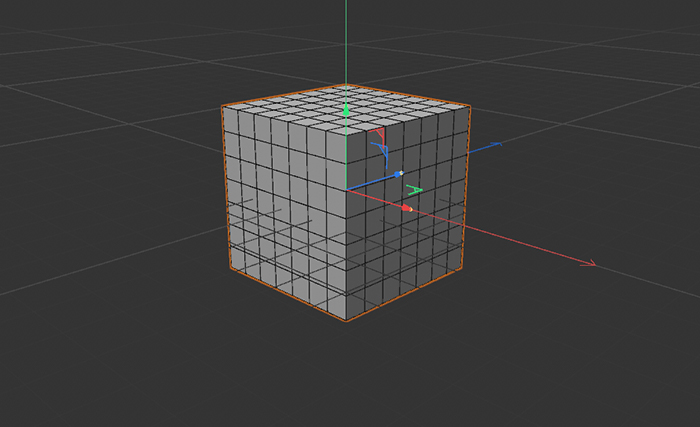
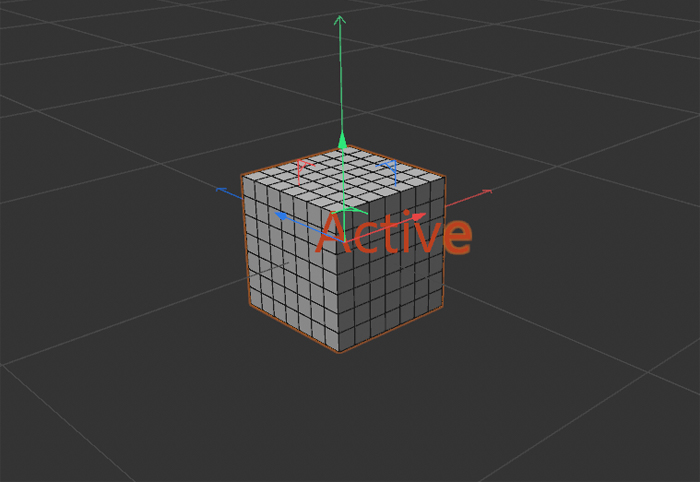
① まずは適応するオブジェクトを用意します。今回はプリミティブの立方体を使います。
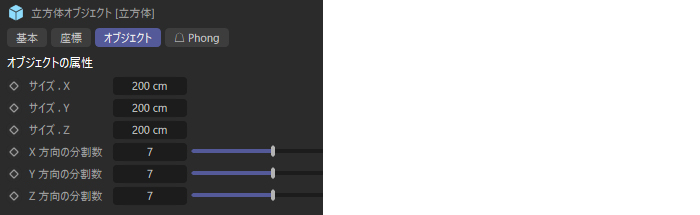
ポリゴンに沿って分割したいので分割数を多くしました。
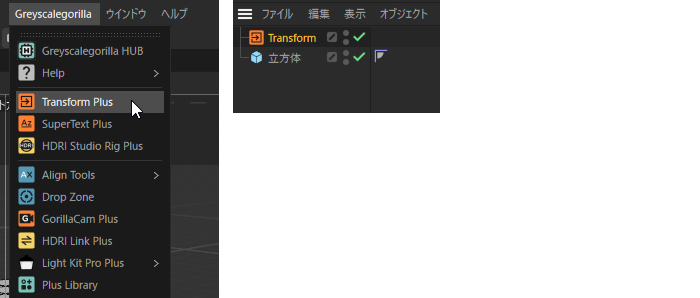
② Greyscalegorilla メニューから”Transform Plus”を選択します。すると Transform オブジェクトが作成されます。
③ Transform オブジェクトの子になるように、アニメーションをつけたいオブジェクトを移動しましょう。
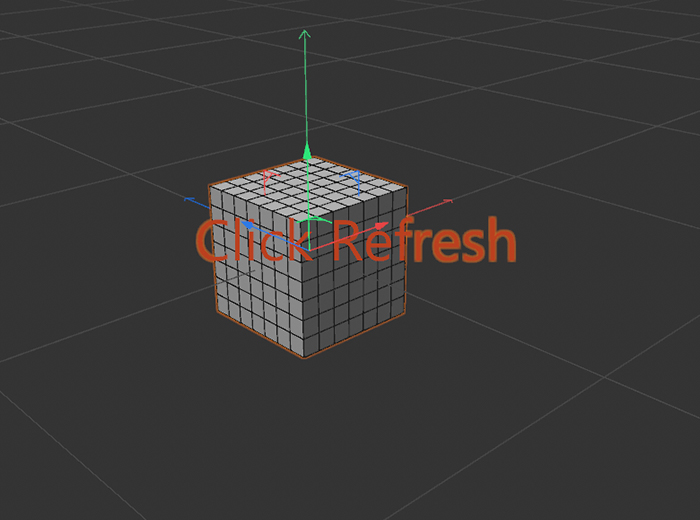
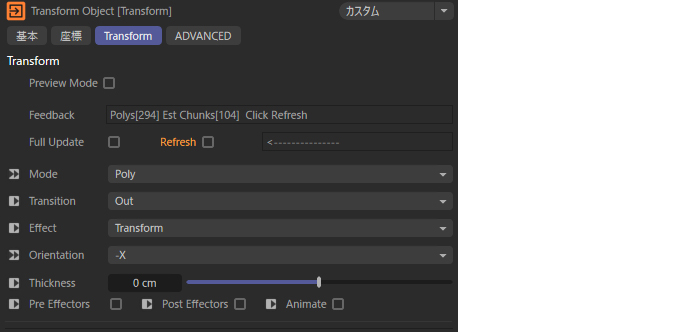
④ 適用したオブジェクトの前に「Click Refresh」のテキストが表示されますので、Transform の属性メニューから、”Refresh”をクリックします。
Refresh 横の□をクリック。
④ ビューポートの「Click Refresh」が「Active」に変わります。これで適用完了です。タイムラインを進めると、分解されるようなアニメーションがついています。

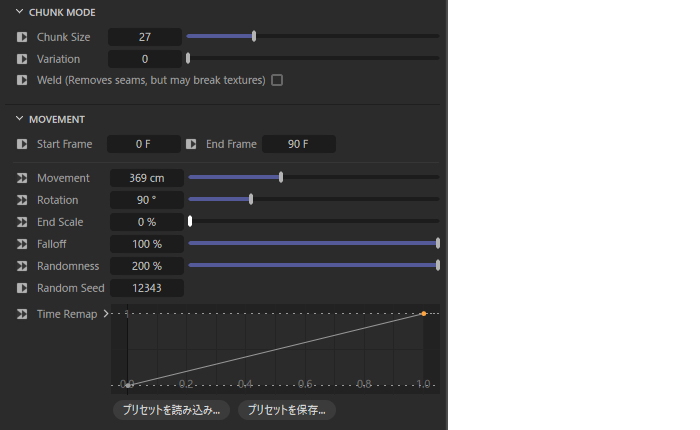
デフォルトでは、ポリゴンごとにばらばらになりながら消失する 90f のアクションがつきます。
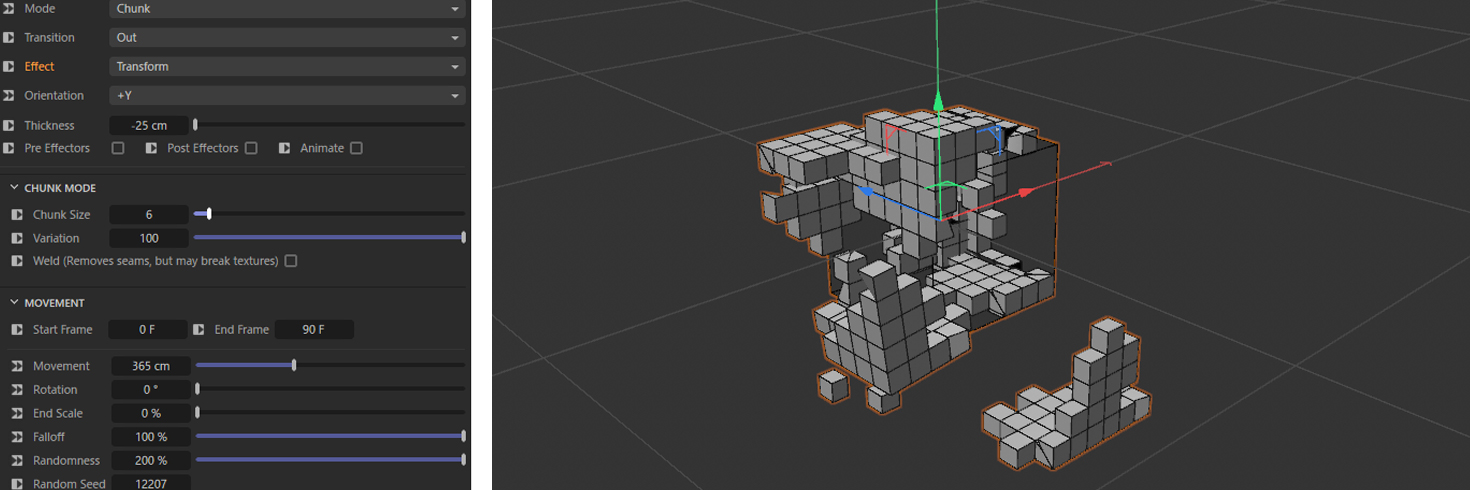
また、Transform の属性から”Mode”を Poly から Chunk に変更すると分割のされ方が変わります。
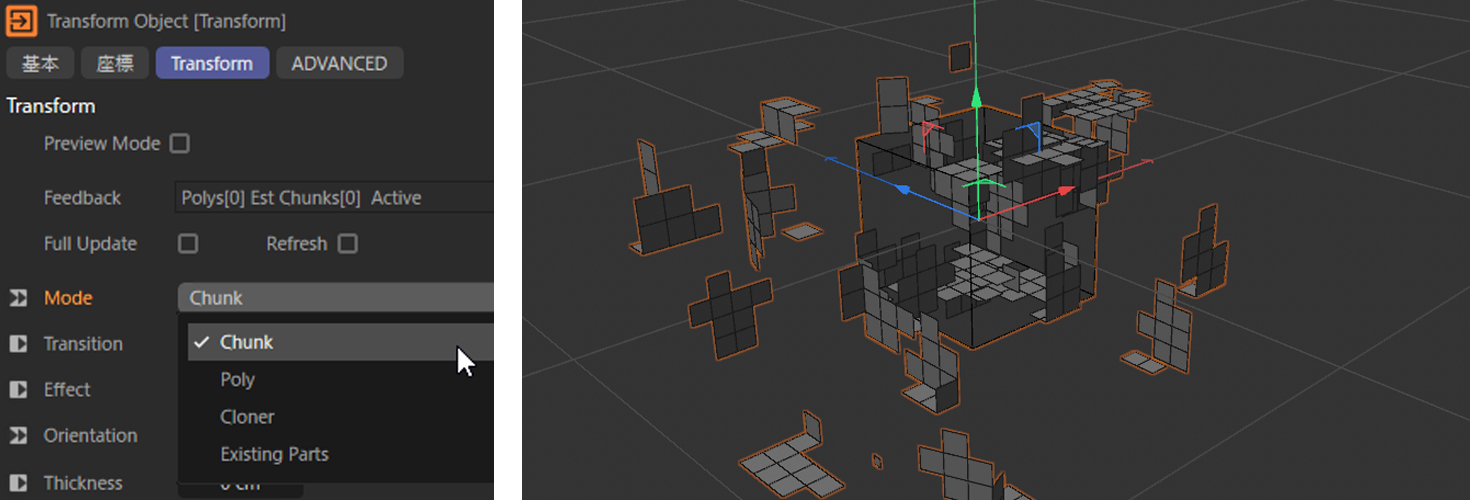 ※Modeを変更するたびにRefreshが必要です。
その他、アニメーションのタイミング(インアクションなのかアウトアクションなのか)、移動距離、回転する角度、消滅する方向、厚み、ランダムさなど様々な調整を Transform オブジェクトから行うことができます。
【SuperText Plus】
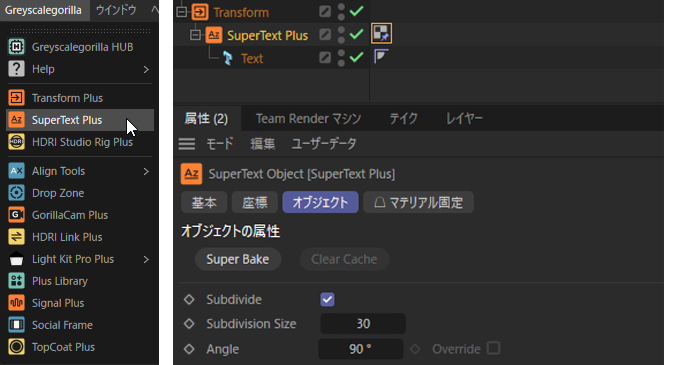
これは Transform を”テキストオブジェクト”に適用する際に使用するオブジェクトです。テキストオブジェクトの親にして Transform を適用することで、ポリゴンを正方形、三角ポリゴンに分割しなおすことが簡単にできますます。
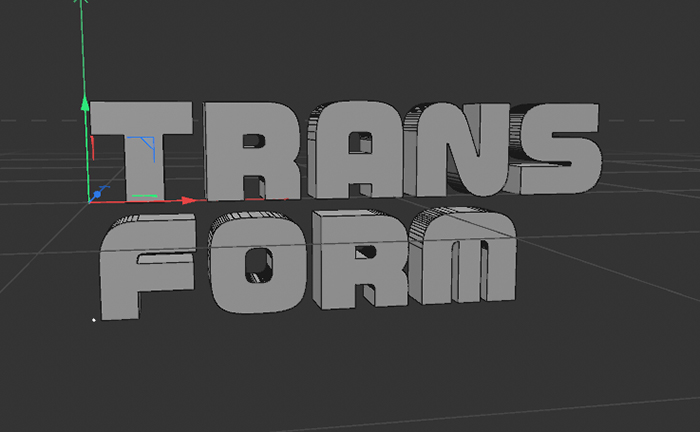

左が SuperText Plus 適用前、右が SuperText Plus 適用後
分割の密度や、角度、表面・奥行きの分割箇所の指定などをツール上でスムーズに調整できます。
またテキストオブジェクトはそのまま Transform を適用すると、クローナーとして判別される為、ポリゴンごとに分割して動きをつけたい場合は SuperText Plus を適用するとより良いかもしれません。
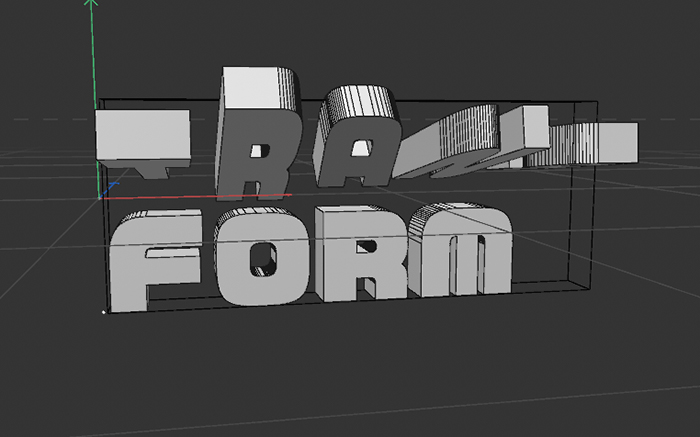
左は SuperText Plus を適用していない場合。クローナーとして認識されている為、各文字を1つのオブジェクトとしてアニメーションがついています。右は同じ動きですが SuperText Plus 適用して知るためバラバラと崩れるような動きがついています。
【Transform をクローナーに適用】
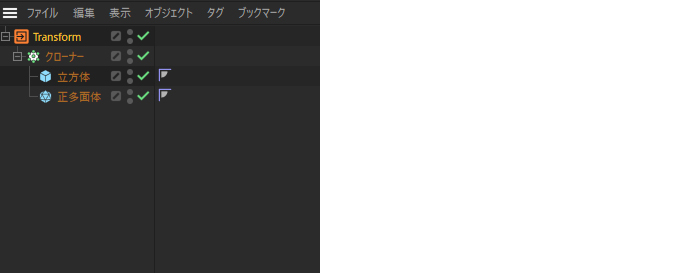
SuperText Plus をテキストオブジェクトに適用していない場合、クローナーオブジェクトと認識され、テキストは1文字づつ個別のオブジェクトとしてアニメーションが設定されました。同様に、Transform はクローナーで複製したオブジェクトにも適用することができます。
複製するオブジェクトを指定した、クローナーオブジェクトを Transform の子に入れるだけ。
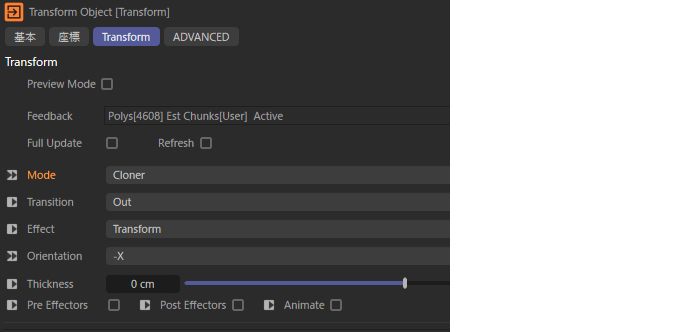
Mode が自動的に Cloner に切り替わります。
Cloner で複製されたオブジェクトが個別にバラバラと移動しながら消えるアクションがつきました。
モーショングラフィック制作においては、個人的にこの使い方が一番役立つのではと思います。
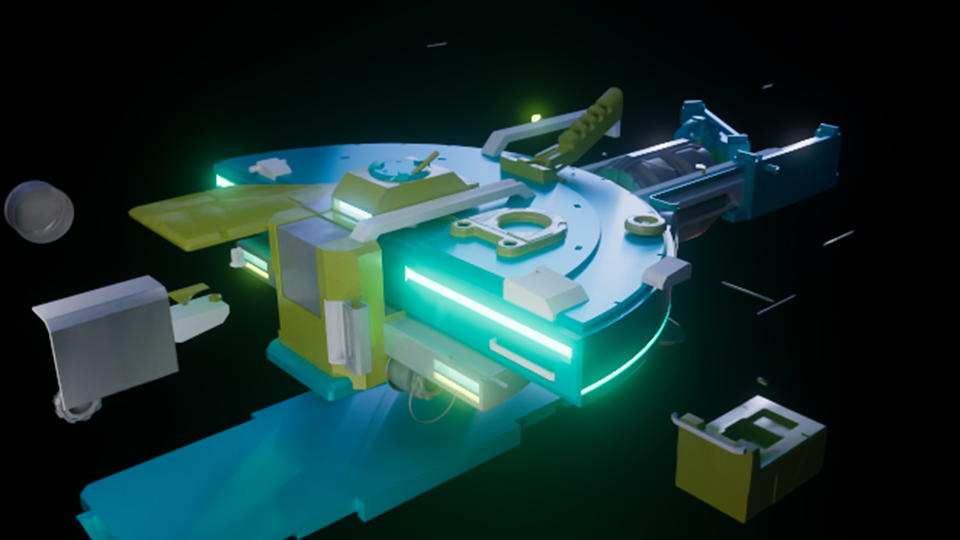
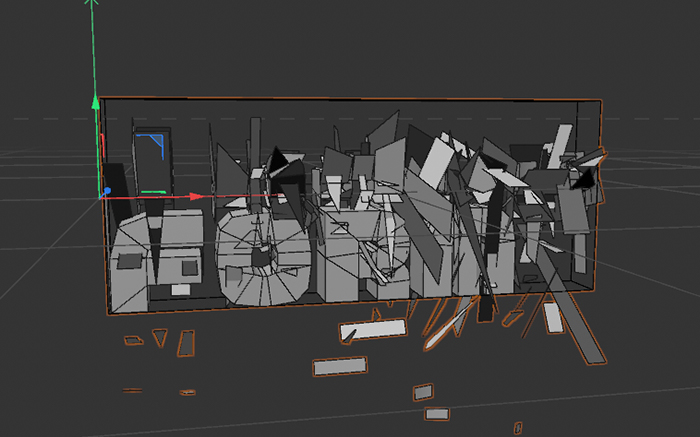
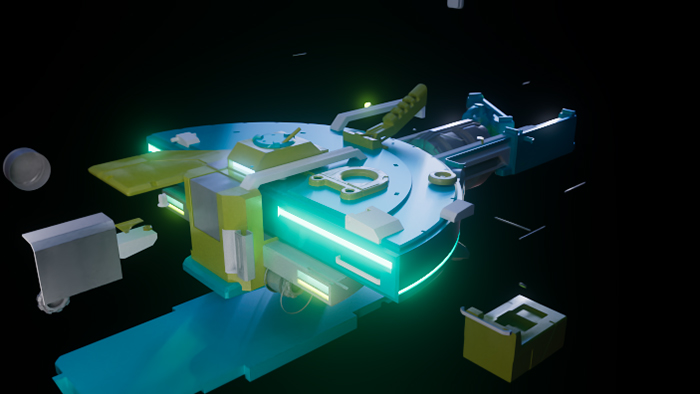
今回、説明の為におもちゃの宇宙船の様なものを制作しました。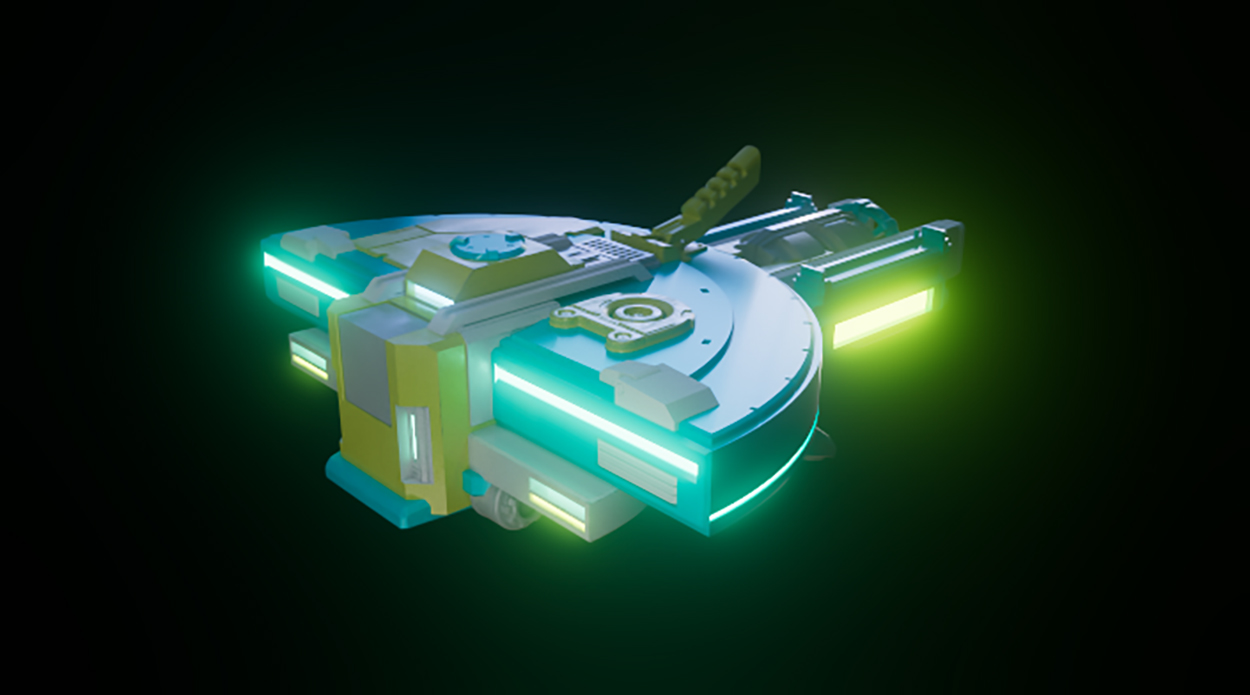
Transform はクローナーに適用できるため、破砕オブジェクトにも適用することができます。
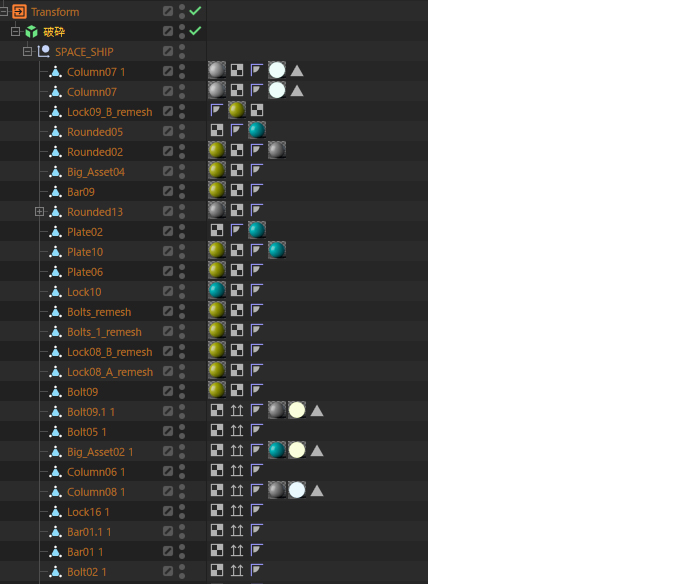
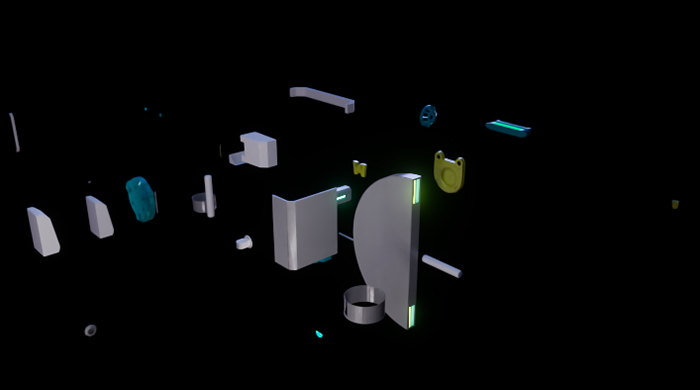
破砕オブジェクトの子に宇宙船のパーツ全て入れることでクローナーと同じ扱いになり、それぞれのパーツがバラバラに動きながら、分解・構築されるようなアニメーションを簡単につけることができます。

破砕オブジェクトのモードは、”セグメントごとに破砕”に。
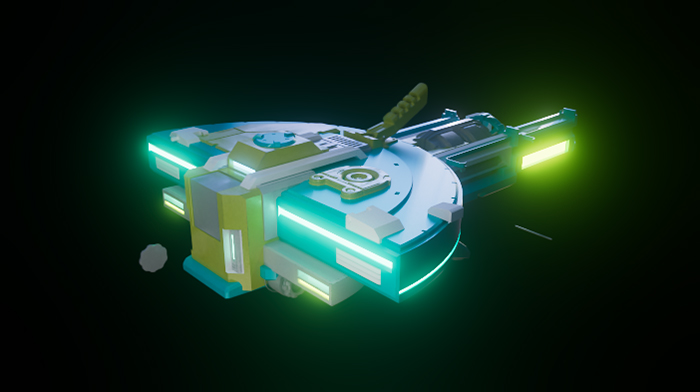
数ステップで、各パーツがバラバラに出現し、個別に回転しながら宇宙船が構築されるようなアニメーションが出来ました。
アニメーションの方向、デュレーション、など Transform のパラメーターを変更するだけで簡単に変更することができます。

ここまで Transform の基本的な使い方をご紹介しましたが、Transform オブジェクトにはエフェクターを適用することもできる為、更に複雑な動きを追加することができます。
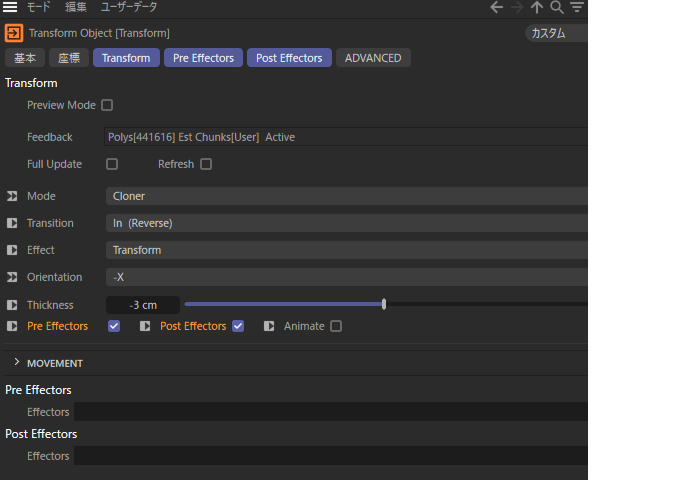
Transform の”Pre Effectors” “Post Effectors”にチェックを入れることで、アニメーションに対して更にエフェクターを適用できます。
映画の様なタイトルの出現や、複雑な機械分解されるようなプロダクト系の CG、その他モーショングラフィック用途など使い方次第で複雑かつ高クオリティなアニメーションをとても効率的に仕上げることが可能です。皆さんも是非試していただけたらと思います。
